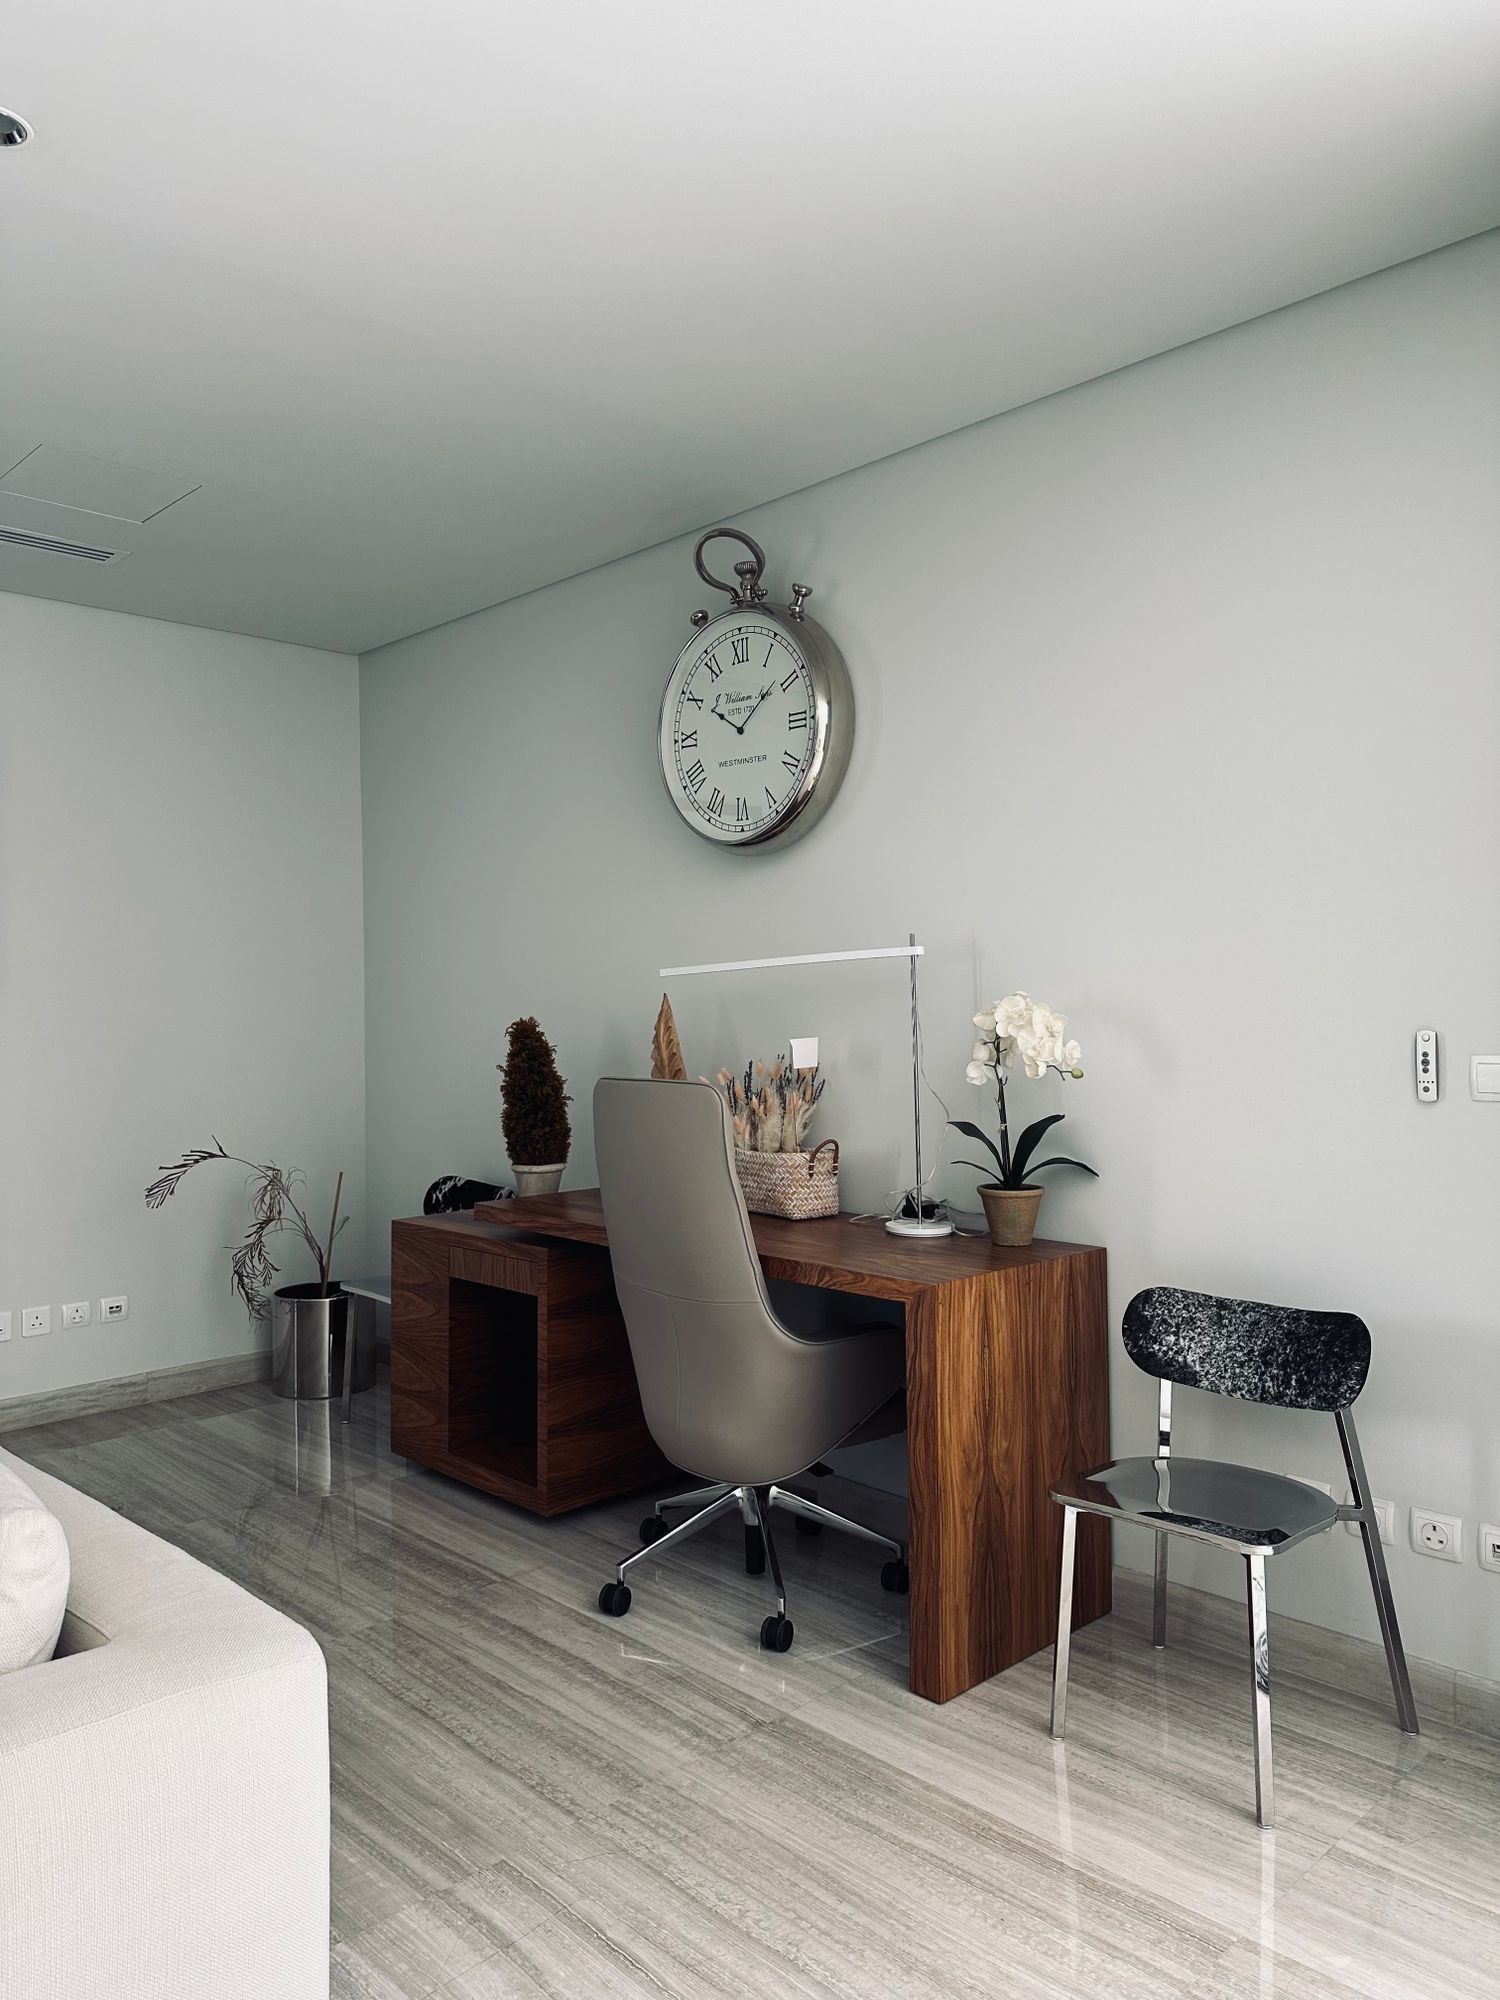
Whiteboards for a small workspace
A small whiteboard works when the writing is readable from the place it is used and the board can be erased without moving half the desk. Choose a size for the actual notes, not for the empty wall alone.

Mock up the writing area
Write a typical week's notes on paper at the size you would use on the board. Include headings and the spaces between items. Hold the paper at the proposed location and read it from the chair or doorway. This is more informative than filling the largest available rectangle with a board whose lower corner is never used.
Distinguish a personal scratch surface from a shared household noticeboard. A small desktop board can be turned toward the user, while a shared plan needs a visible location and understandable categories. Avoid adding a complicated grid if the information changes shape from week to week. Leave room to revise an item without rewriting the whole display.
Choose the mounting and access
For a wall board, follow the manufacturer's mounting instructions and use fixings suitable for the wall and stated load. Check what is behind the surface before drilling. Include the weight of accessories if the maker permits them. Do not rely on an unspecified adhesive method simply because the board looks light when empty.
A freestanding board needs a stable base and enough room to write and erase without tipping. Try the stand at the intended angle. If it folds away, measure the folded size and check whether the marker tray remains attached. A board that is awkward to store may end up permanently occupying the work area it was meant to simplify.
Match the markers to the surface
Use only marker types and cleaners recommended for the particular board. A white-looking surface is not automatically interchangeable with every erasable material. Test an ordinary note and remove it according to the instructions. Check whether the eraser reaches into the corners and whether a frame creates a narrow strip that is difficult to clean.
Magnetic capability is a separate feature. Confirm it if you intend to attach notes or a small accessory, and respect the board's intended use. Do not assume a smooth metal-colored frame means the writing surface accepts magnets. Keep loose magnets and marker caps appropriately stored, especially where children could reach small parts.
Give the eraser and the few working markers an obvious place. Remove dried-out pens rather than keeping a crowded tray of uncertain tools. A quick weekly wipe and review can keep the board readable. If old notes remain because erasing is inconvenient, improve access or reduce the board's role instead of adding more writing around them.