A sewing kit for small clothing repairs
A small sewing kit should make an ordinary repair easy to start: replacing a button, closing a loose seam or securing a simple hem where the garment permits it. Choose usable tools rather than the largest advertised piece count.
Build around the repairs you expect
Look at the clothing you own and the minor repairs that actually recur. A kit for shirt buttons differs from one intended for decorative embroidery. Keep the initial purpose modest and avoid assuming every damaged garment can be repaired with the same needle and thread. Stretch fabrics, waterproof layers and complicated construction may need a specific method or professional help.
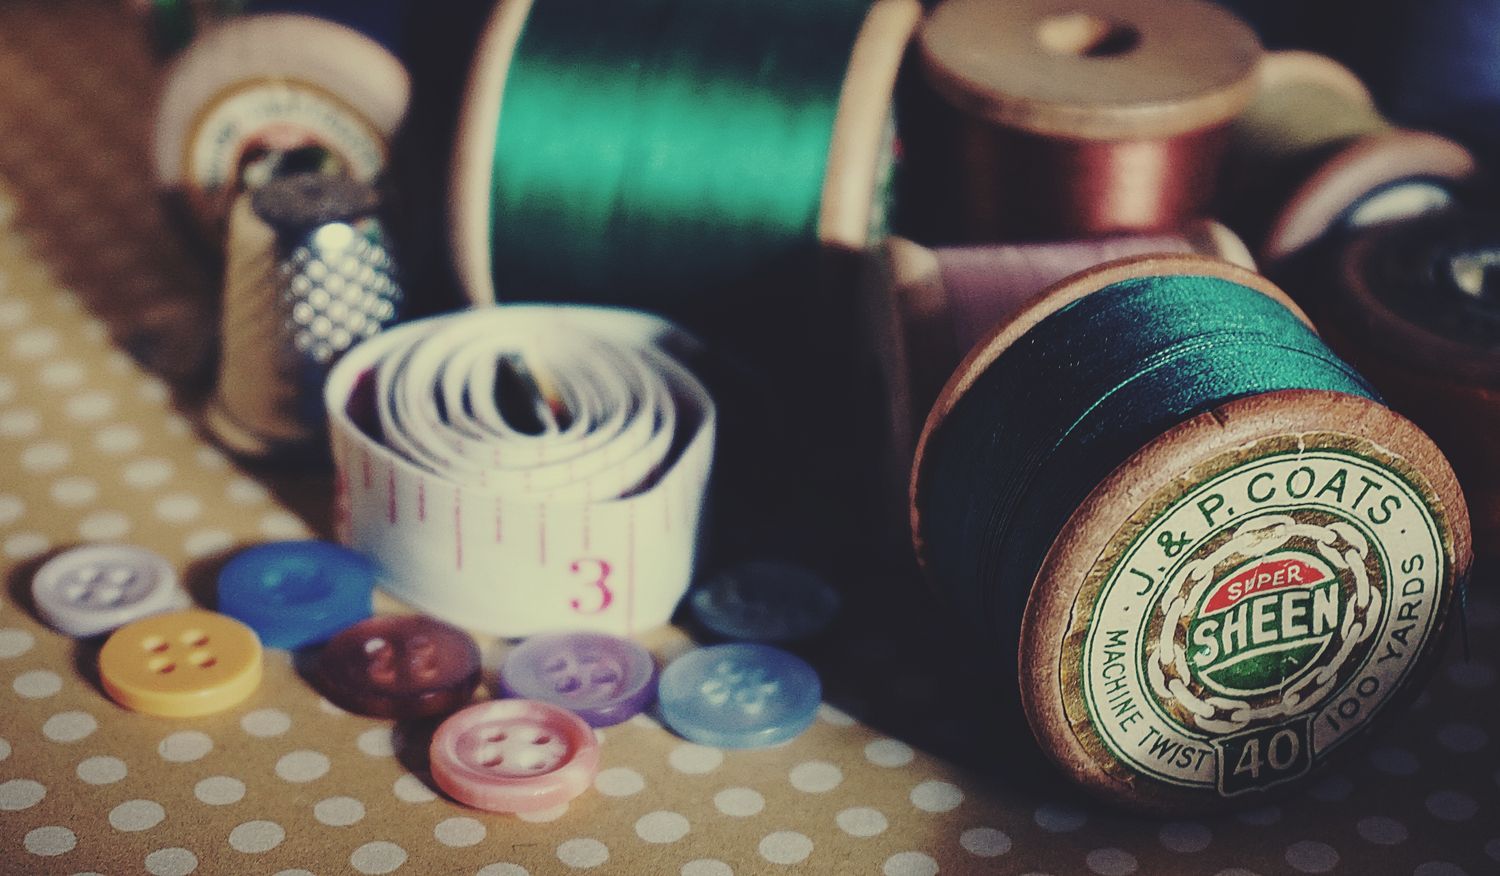
Choose thread colors that match common garments rather than a large rainbow of tiny spools. Check that the thread is suitable for the fabric and task. A neutral-looking shade can still be conspicuous against a particular garment, so compare it in ordinary light. Keep the original spare button with the garment information when one is supplied.
Make the small tools usable
Try threading an appropriate needle and holding it comfortably. A needle threader may help if it suits the chosen needle eye and thread. Keep several suitable sizes clearly stored rather than a loose collection of unidentified needles. A small thimble can be useful when used correctly, but its fit should be checked instead of assuming a single size suits every hand.
Scissors should cut the intended thread cleanly and have a protected storage position. A seam ripper is a cutting tool, not a harmless accessory; use it only with a controlled view of the stitches being removed. Keep sharp tools and small parts away from children and close the kit before putting it into a shared drawer.
Test on a modest repair
Read an appropriate method for the particular garment and practice on a scrap when the technique is unfamiliar. Work in good light with the fabric supported. Match the original construction where practical rather than pulling a loose seam together under excessive tension. Stop if the repair changes the garment's shape or damages the material.
For a replacement button, compare the size and attachment arrangement with the buttonhole and the original fastening. A visually similar button may be too thick or too wide to work comfortably. Check the finished fastening gently before wearing the item. The aim is a functional repair, not simply a button that remains attached to the cloth.
After use, return needles to their holder, wind loose thread and replace worn supplies individually. A small labeled box with room to see each tool is easier to maintain than a packed folding case. Keep only the tools you understand and use, then add a specific item when a real repair requires it.