Replacement cabinet handles and hole spacing
Replacing a cabinet handle can be a small, contained change when the new fitting uses the existing holes. The useful measurements are the distance between those holes, the thickness of the front and the space around the handle.
Measure the holes, not the decorative bar
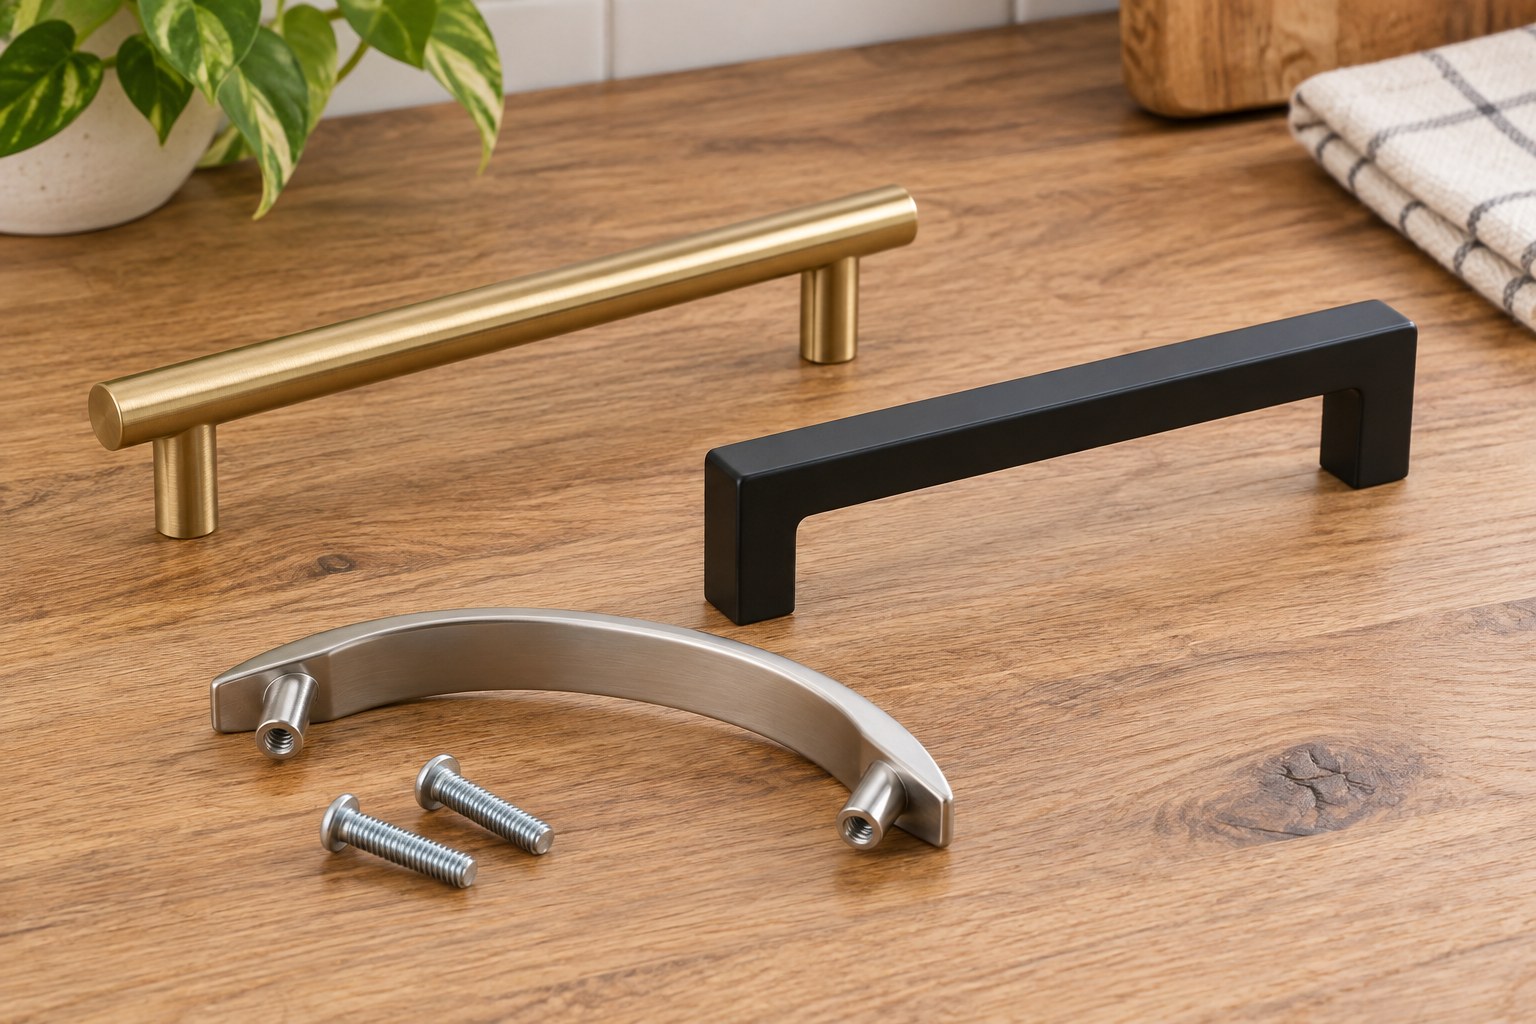
Remove one handle carefully while supporting it from the outside. Keep its screws together and photograph the arrangement before setting it aside. Measure between the centers of the two fixing holes. Overall handle length is a separate dimension: two handles with the same fixing centers may have very different overhangs.
Use the same units as the specification you are comparing, and write down the measured value rather than rounding to a familiar size. If the holes look enlarged, angled or previously modified, a nominal center measurement may conceal another problem. A new handle should not need to be forced sideways to make the screws enter. Try one replacement before ordering enough for an entire room.
Check the space your hand and the door need
Projection determines how far a handle stands out from the cabinet. Examine both the external projection and the opening available behind the grip. A low profile can look unobtrusive yet leave little room for fingers. Very long bar ends may catch on clothing in a narrow passage. A rounded end is worth comparing with an exposed straight extension.
Open adjacent drawers and doors through their normal travel. At an inside corner, handles on neighboring fronts can meet before either door reaches its useful opening angle. Also check appliances and walls close to the cabinetry. Make a simple card profile of the proposed projection if the new fitting is not available to try; it will reveal obvious conflicts, although it cannot reproduce the feel of the handle.
Match the screws to the actual front
Measure the thickness through which each fixing passes, including any extra panel at the back. A drawer front can have a different buildup from a cupboard door beside it. Use the handle manufacturer's specified thread and suitable screw length. Reusing the old screw merely because its head looks similar can damage the new fitting.
A screw must engage as intended without bottoming out before the handle is clamped. Follow the supplied fitting directions and avoid trying to cure a mismatch by tightening harder. If a handle rotates, sits crooked or remains loose, investigate the hardware and surface rather than adding more force. Keep detachable knobs and small screws away from the working edge while assembling.
Make the first replacement a trial
Fit one handle and use that door or drawer for normal tasks. Wipe around it, check the grip with a towel in hand and look at it from across the room. Confirm that the base covers existing marks: a smaller footprint may expose an outline left by the old fitting.
Compare finish samples in the room's own light before buying the remainder. Names such as brushed metal or warm brass do not guarantee a match between suppliers. Keep a spare matching handle and a note of the exact model if replacements may be difficult to identify later. Retain serviceable original fittings until the new installation has been checked throughout.